What Are Pysanky?
Pysanky are the colourful decorated eggs made with beeswax and dyes in a technique akin to batik. The tradition started in Ukraine in ancient pagan times. The name pysanky (singular pysanka) is derived from the Ukrainian verb pysaty – to write. It is pronounced PIH-sahn-kih (with the emphasis on the first syllable “PIH”). Similarly, the singular decorated egg is the word “pysanka” and it is pronounced PIH-sahn-kah.
Learn to pronounce “pysanka” and “pysanky”– audio recording by Joan Brander 2022.
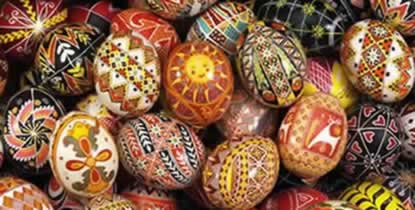
A sun motif dominates this colourful display of pysanky Ukrainian Easter eggs made the traditional way with beeswax, kistka and dyes
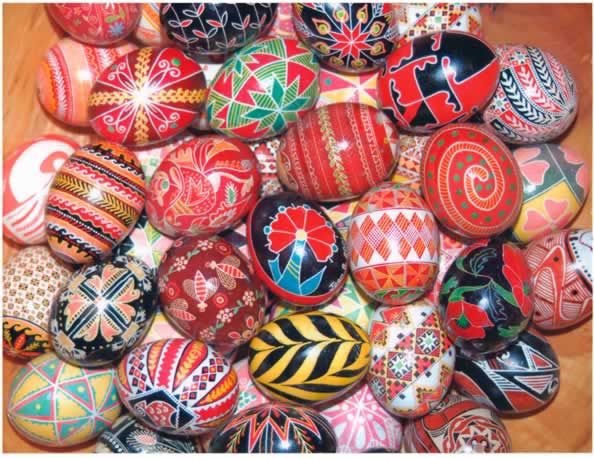
A vibrant red and blue poppy amidst a colourful display of dozens of pysanky Ukrainian Easter eggs made the traditional way with beeswax, kistka and dyes makes a beautiful statement of love
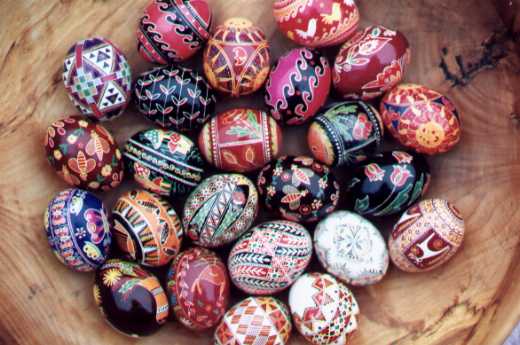
Gorgeous pysanky Ukrainian Easter eggs made the traditional way with beeswax, kistka and dyes displayed in a beautiful wooden bowl are a legend of magic and mystery
How are Pysanky Made?
People are fascinated with how these beautiful empty eggshells are decorated. They are not made with stencils, paint, or crayons, nor are they simply dipped into food coloring. The basic tools required are:
- beeswax — designs are written on the egg with melted beeswax; the beeswax resists the colours of the dye
- kistka — this tool guides melted beeswax on the egg in hand-made designs (also goes by names such as tjanting or stylus)
- dyes — a variety of colours, both natural (onion skins, beets, walnut husks) and synthetic water-based, are used
Traditional symbols, designs and patterns include:
- geometric shapes
- plant symbols
- animal motifs
These symbols, designs and patterns are applied to the egg with the kistka. The eggs are dipped into successivly darker dye baths. At the end of the process the beeswax is removed to reveal a dazzling display of colour. This is what you can expect to accomplish at a beginner’s workshop with Joan Brander:
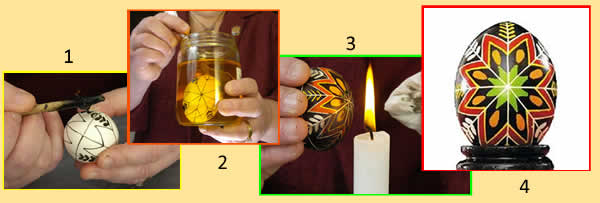
1. Apply melted beeswax with a kistka
2. Dye the egg — repeat steps 1 and 2
3. Melt off the beeswax
4. Discover the Magic!